
Last updated November 2, 2026
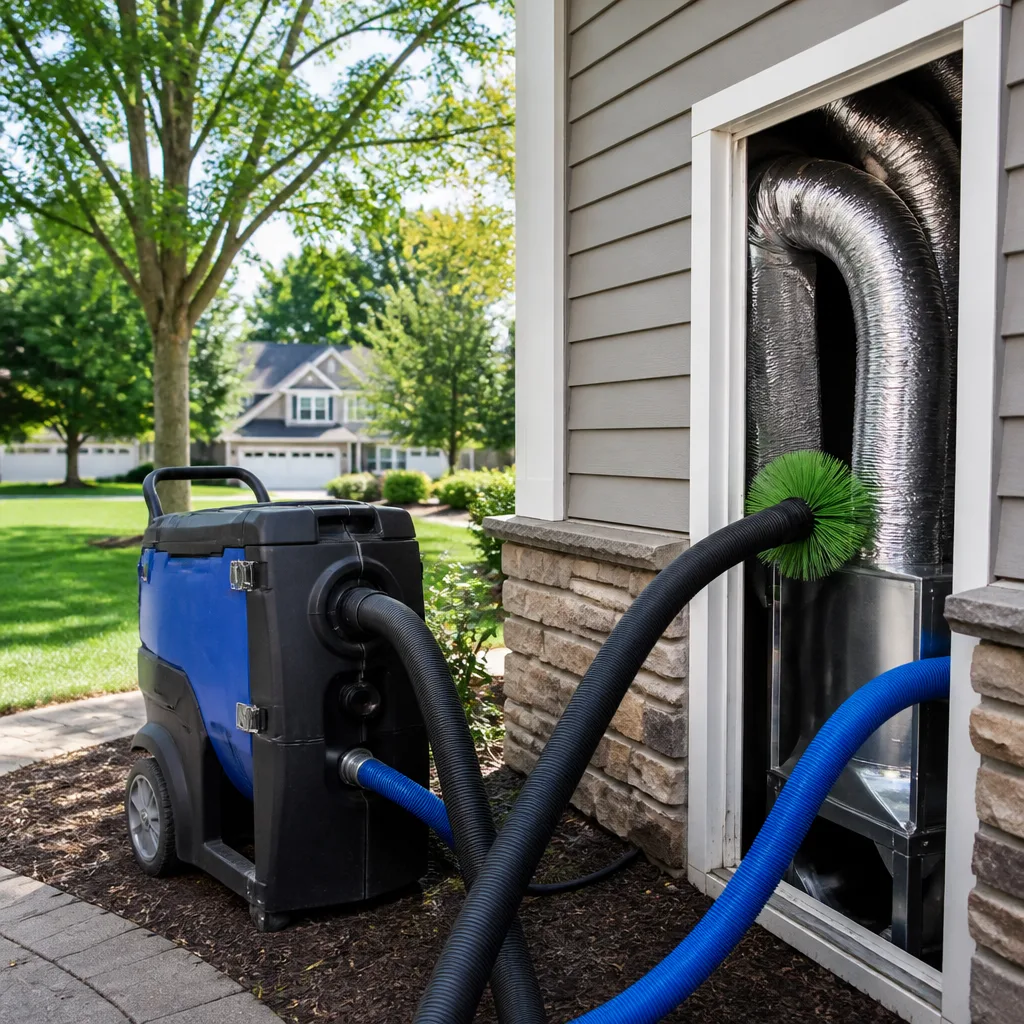 Whole-home duct cleaning
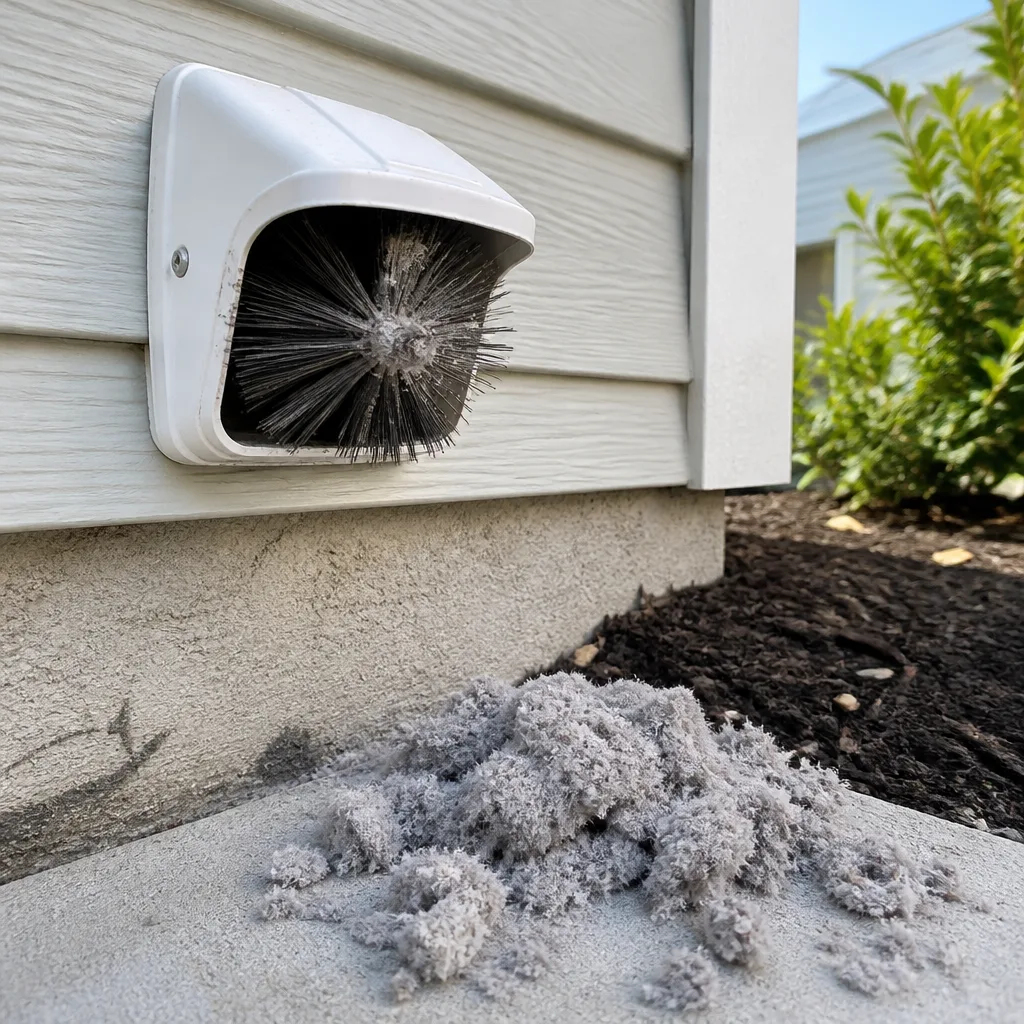 Dryer vent cleaning
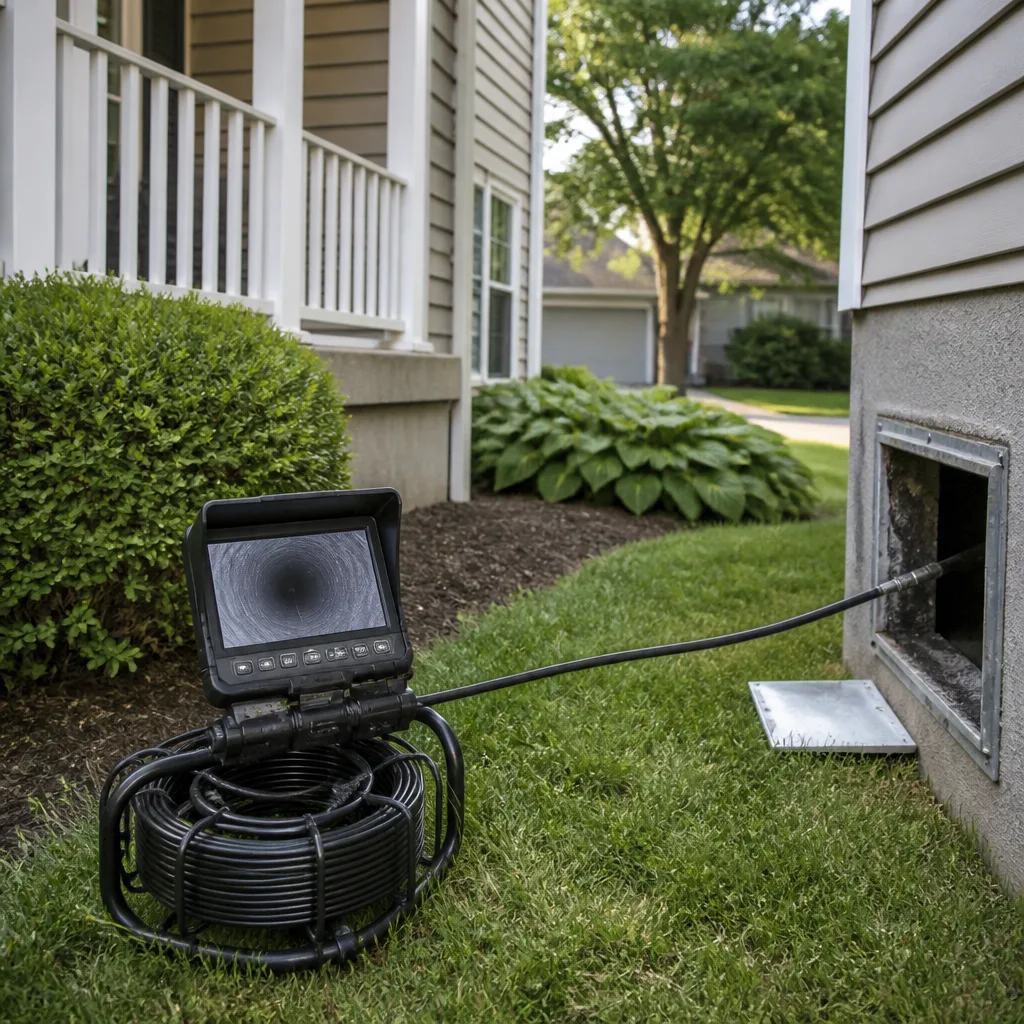 Camera inspection
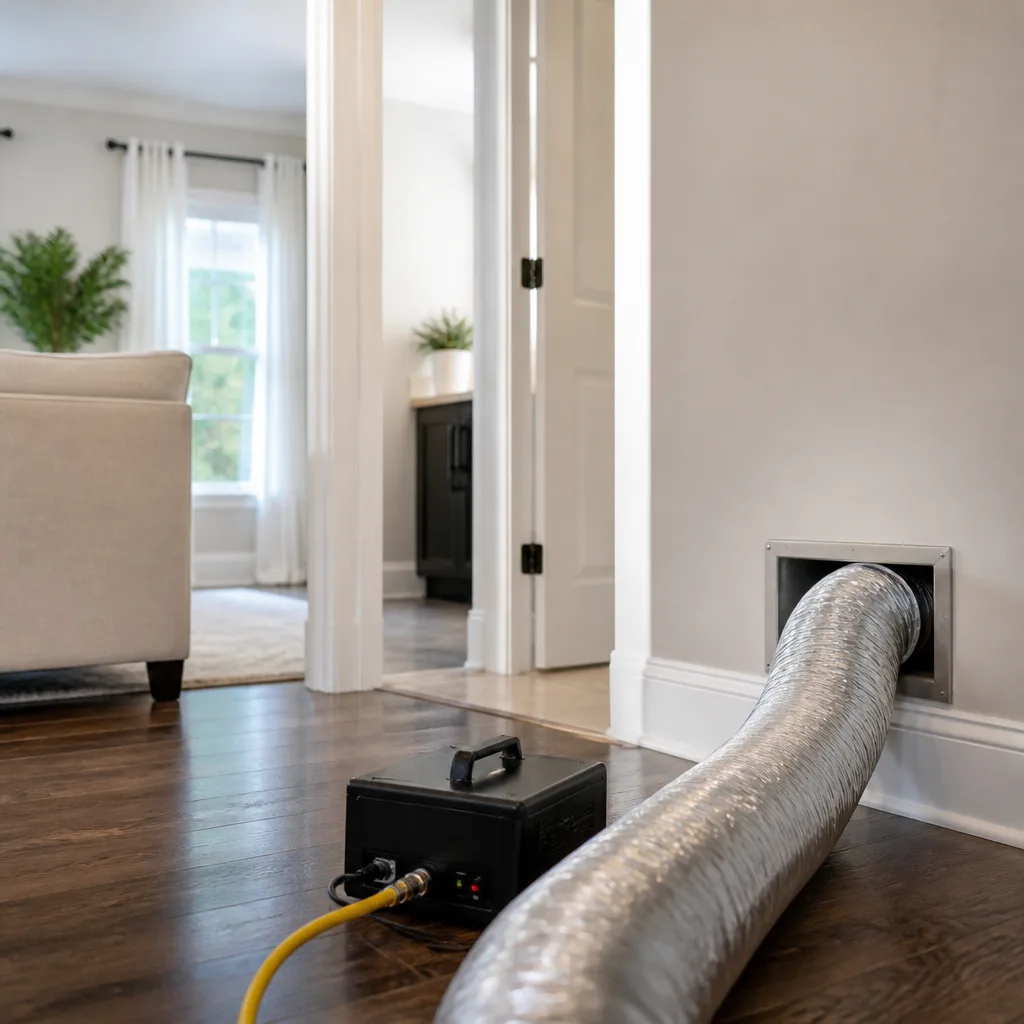 Sanitizing & deodorizing
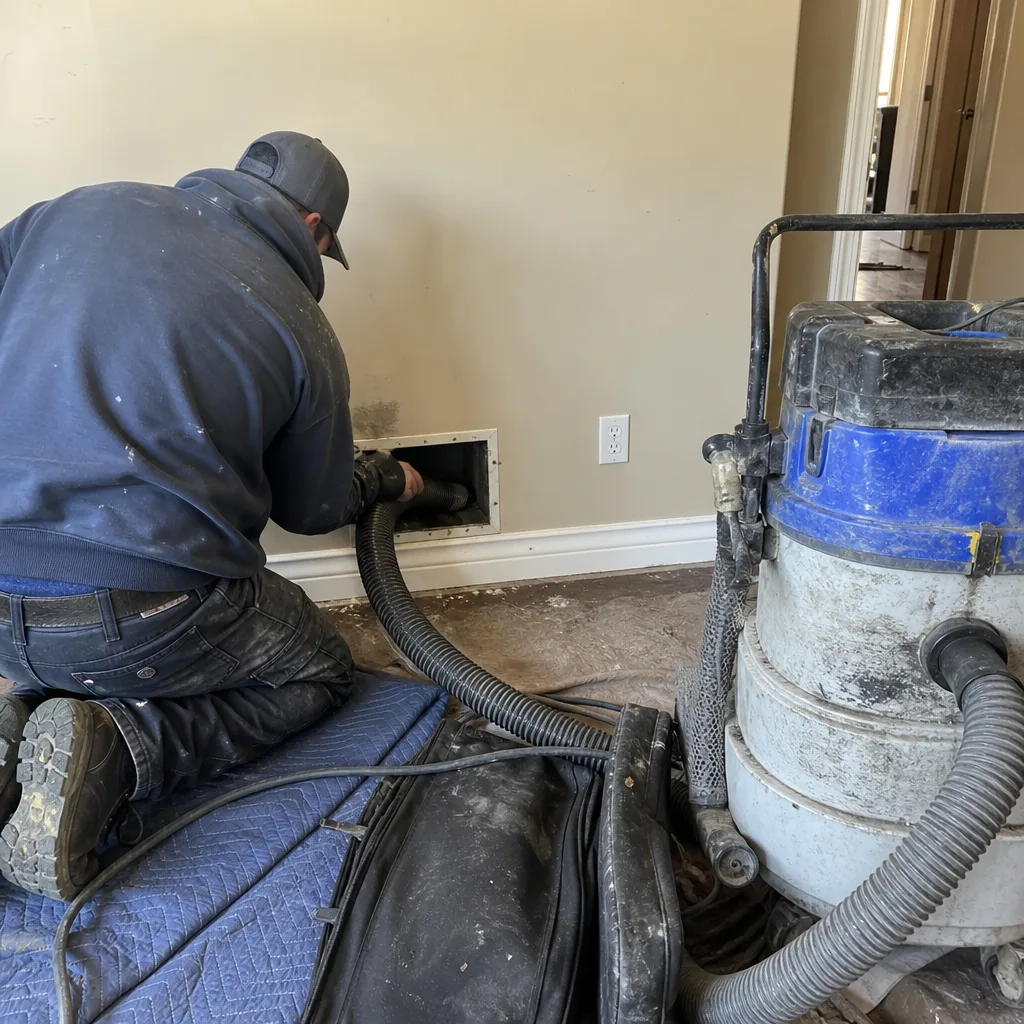
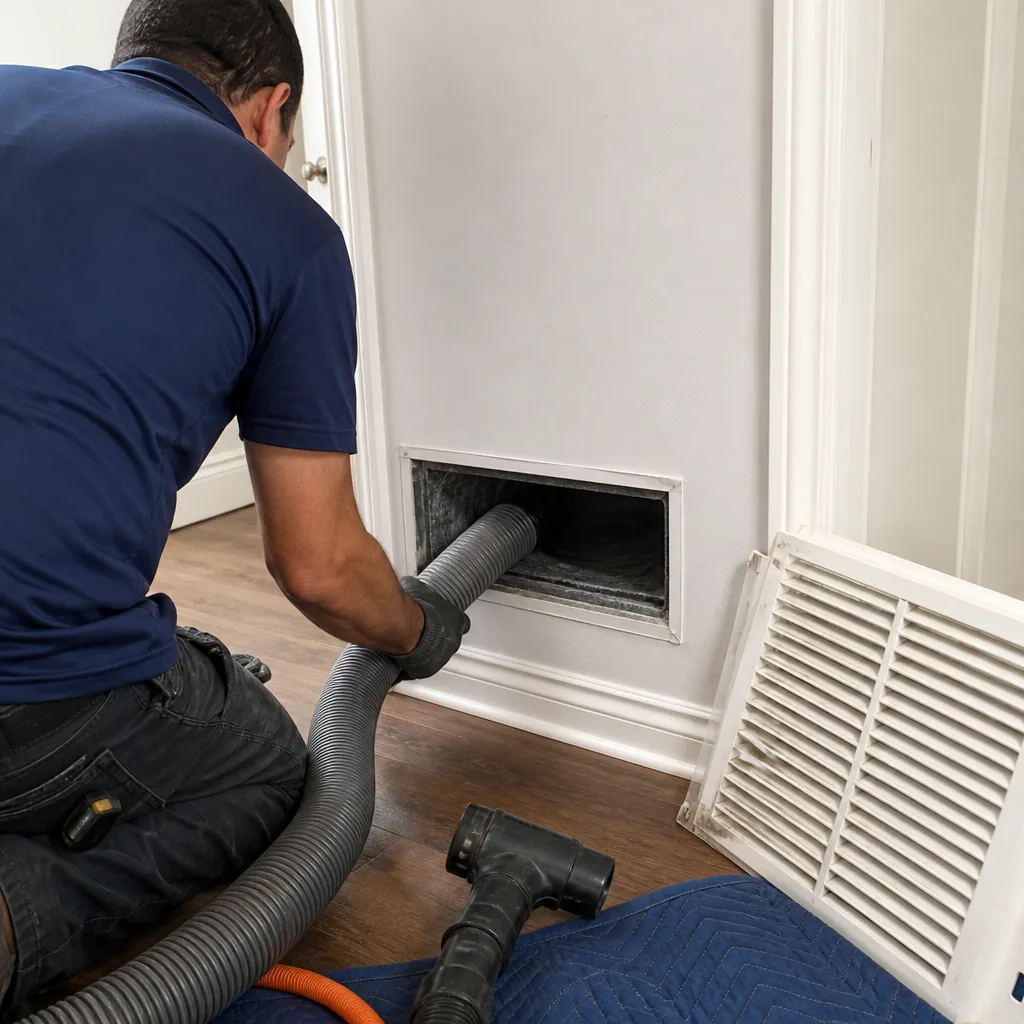
Whole-system duct and dryer vent check with before-and-after photos - you see exactly what came out of your vents
That "$99 whole-house special" is a bait ad - the real number appears once they are in your hallway, or the "clean" is a shop-vac at the register. We photograph the inside of your ducts before and after instead.
Air Duct Cleaning Troubleshooting: Common Problems and How to Fix Them
If your rooms still smell stale two weeks after a duct cleaning, the company didn’t fail. They probably cleaned the wrong thing. Or they cleaned the right thing but missed the reason it got dirty in the first place. We’ve spent years pulling apart duct systems in Camarillo homes, and the pattern is consistent: homeowners call us frustrated because they paid for a cleaning that didn’t solve their problem. The ducts weren’t the issue. The ducts were just where the symptom showed up. This guide – along with our companion piece on Air Duct Cleaning Warning Signs: A Camarillo Homeowner’s Reference Guide – walks through the most common duct problems we encounter, how to diagnose what’s actually going on, and what a real fix looks like. You’ll learn how to tell a cleaning problem from a sealing problem from a mechanical problem, and how to test whether your last cleaning was done right in the first place.
Quick Answer
Most recurring air duct problems fall into three categories: the ducts were never properly cleaned (debris remains on duct walls), the ducts are leaking or disconnected (pulling dirty attic or crawlspace air in after cleaning), or there’s a mechanical issue upstream or downstream (a clogged condensate pan, a dead rodent in a wall cavity, or a return-side breach). Identifying which category your problem falls into determines whether you need a deeper clean, a duct repair, or a fix to the air handler itself.
Styles & brands we work with
- Whole-home duct cleaning
- Dryer vent cleaning
- Camera inspection
- Sanitizing & deodorizing
Table of Contents
- Musty Odors That Won’t Go Away After Cleaning
- Why Dust Returns Days After a Duct Cleaning
- Uneven Airflow and Room Pressure Problems
- Duct Leakage: The Recontamination Engine
- How to Test if Your Prior Cleaning Was Done Correctly
- The Symptom-to-Cause Troubleshooting Checklist
- Why Equipment Matters: Contact Cleaning vs. Air Agitation
- Common Mistakes to Avoid
- When to Call a Professional
- Frequently Asked Questions
Musty Odors That Won’t Go Away After Cleaning
A musty smell in Camarillo homes is usually blamed on the ducts, but the ducts are only one of four places that odor can originate. The distinction matters because cleaning the wrong location does nothing. Here are the four odor sources we systematically check when a customer says the smell came back after a previous cleaning.
1. Mold on duct walls or inside the plenum. This is the one scenario where the ducts themselves are the source. Mold grows inside ductwork when condensation forms on interior surfaces and never fully dries. In Camarillo’s coastal climate, spring and early summer temperature swings create exactly this condition: warm humid air moves through cool duct runs, moisture beads on the metal, and spores that are always present in outdoor air find a damp surface to colonize. The fix is not just cleaning. The moisture source has to be identified and corrected, or the mold returns within a season.
2. A dead rodent in a wall cavity or attic space. A dead mouse or rat produces an odor that people almost always describe as “coming from the vents.” It’s not in the vents. It’s in a wall void or under insulation near a return-air chase. When the blower runs, negative pressure pulls air from those cavities into the duct stream, carrying the odor with it. Cleaning the ducts does nothing because the source was never in the duct. The fix is locating and removing the carcass, then sealing the breach that let air move from the cavity into the return path.
3. VOC off-gassing from old insulation or duct liner. Some duct systems, particularly those installed in the 1980s and 1990s, use internal fiberglass liner or external wrap that breaks down over decades. The adhesive binding agents and the fiberglass material itself can emit a chemical or stale odor that intensifies when the system heats up. A cleaning won’t remove this smell because the material itself is degrading. The fix is duct replacement or relining in the affected sections, which falls under Air Duct Repair in Camarillo.
4. Condensate pan overflow at the air handler. Your air conditioner pulls moisture from the air during cooling season. That water drains into a pan beneath the evaporator coil, then flows out through a drain line. When the line clogs or the pan cracks, water sits and stagnates. Bacteria and mold grow in the standing water, and every blower cycle pushes that smell into the living space. The ducts are innocent. The fix is cleaning the pan and clearing the drain line. We see this constantly in Camarillo during August and September, when AC systems are running hardest.
The diagnostic shortcut: if the smell is constant regardless of whether the system is running, it’s probably not in the ducts. Duct-sourced odors intensify when air moves. A smell that’s present when the system is off points to a wall cavity, a pan, or building materials.
Why Dust Returns Days After a Duct Cleaning
Dust reappearing within days or weeks of a cleaning is the most common complaint we hear from Camarillo homeowners who hired a bargain service. The pattern is predictable: they paid $99 for a whole-house special, the crew was in and out in under two hours, and within a month the furniture looks the same as it did before. There are three reasons this happens, and they’re all diagnosable.
Reason one: the cleaning was superficial. Air-agitation cleaning methods, which use compressed air or a spinning whip, knock debris loose from the duct walls without fully extracting it. Much of that debris settles back onto the duct surfaces within days. The system looks clean immediately after the job because the dust is suspended in the air, but it’s still in the ducts. A proper cleaning uses contact technology, like the Rotobrush system we run, that physically brushes the duct walls while a vacuum simultaneously extracts the dislodged material at the point of contact. The difference is measurable: contact cleaning removes the debris from the system entirely, while air agitation just moves it around.
Reason two: the return side was never the problem. In many Camarillo homes, the return air path is the dirtiest part of the system. Returns are under negative pressure, which means they actively pull in air from wherever they can get it. If a return chase runs through an attic with exposed insulation or a crawlspace with fine soil, that material gets pulled into the system constantly. A cleaning that focuses only on supply registers and visible duct runs misses the return side entirely. Within weeks, the system has pulled enough new material through the returns to make the house dusty again.
Reason three: the system is leaking upstream of the filter. If your return ductwork has gaps or disconnections between the filter and the air handler, unfiltered air bypasses the filter entirely. You could replace the filter monthly and still see dust pour out of the supply registers because the air never went through the filter in the first place. This is a structural problem, not a cleaning problem. The fix is sealing the return-side breaches, which is exactly the kind of air duct repair work we do in the same visit when we find it during a cleaning.
Uneven Airflow and Room Pressure Problems
After a duct cleaning, some homeowners notice that room-to-room airflow balance has changed. One bedroom that used to cool fine now feels stuffy. Another room suddenly gets too much air. The instinct is to blame the cleaning crew for knocking something loose. In our experience, the cleaning didn’t create the imbalance. It revealed a problem that was already there, usually a breach in the return-side ductwork.
Here’s the logic, and it’s worth understanding because it explains most post-cleaning airflow complaints. A duct system is designed as a closed loop. The blower pulls a specific volume of air through the returns, conditions it, and pushes it through the supplies. When a return duct develops a gap or a disconnected joint, the blower starts pulling air from the attic or crawlspace instead of from the living space. That extra unconditioned air enters the system, increasing total supply volume. Some rooms suddenly get more air. That air is hotter or cooler than what the thermostat is set for, so those rooms feel uncomfortable.
The rooms that feel stuffy are experiencing a different symptom of the same problem. When the return path is compromised, the home is no longer depressurized relative to the supply side in a balanced way. Air that should be flowing toward the returns pools in low-pressure rooms. Those rooms feel stagnant. Opening a window might help for an afternoon, but the underlying imbalance is mechanical.
What gets confusing is that a dirty supply register can produce similar symptoms. A register caked with years of dust and pet hair restricts airflow into its room, making it feel stuffy. The difference is that cleaning the register solves one problem and does nothing for the other. If a register cleaning doesn’t resolve the stuffiness within a day, you’re dealing with a return-side pressure issue, not a dirty supply run. In Camarillo’s older neighborhoods, where homes built in the 1960s and 1970s often have uninsulated return chases through the attic, we see this pattern weekly.
Duct Leakage: The Recontamination Engine
The single biggest factor in how long a duct cleaning lasts is not how thoroughly the crew cleaned. It’s how tightly the duct system is sealed afterward. A perfectly cleaned duct system in a leaky envelope will be dirty again in months because the system actively pulls dirty air through the gaps on every blower cycle.
Think about what happens when your system runs. The return side operates under negative pressure. Any gap, crack, or disconnected joint in a return duct becomes an intake port, pulling in whatever surrounds it. In Camarillo attics, that means fiberglass insulation particles, blown-in cellulose, rat droppings, and decades of accumulated dust. In crawlspaces, it’s fine soil, moisture, and pest debris. That material doesn’t just enter the duct. It coats the blower motor, the evaporator coil, and then distributes through the supply side to every room in the house.
Cleaning a system like this without sealing the leaks is like vacuuming a carpet while someone is actively pouring sand on it. The cleaning itself might be excellent, but the system recontaminates itself as fast as it was cleaned. This is why duct leakage testing and sealing are part of what we check during a cleaning. When we find a disconnected return joint in an attic during a cleaning, we don’t just note it and leave. That’s a repair item we address on the spot, because cleaning without sealing is a wasted visit.
The other side of duct leakage is what it does to your energy costs and comfort. A leaky supply duct in a hot attic loses conditioned air to unconditioned space before it ever reaches a register. The system runs longer to satisfy the thermostat. Humidity control suffers. The rooms farthest from the air handler never quite feel right. These are all symptoms of the same structural problem, and they don’t resolve with another cleaning.
How to Test if Your Prior Cleaning Was Done Correctly
If you paid for a duct cleaning and you’re wondering whether the crew actually did the job they claimed, there are specific checks you can do yourself. These don’t require specialized equipment, and they’ll tell you a lot about what kind of service you received.
1. The flashlight check on supply registers. Remove a supply register in a room that the crew claimed to clean. Shine a flashlight into the visible duct run. A properly cleaned duct will show bare metal surface for at least the visible length of the run. If you see dust accumulation, cobwebs, or debris stuck to the walls within the first 12 to 18 inches, the cleaning did not reach that section. This is the most basic check and it’s telling: if the crew didn’t clean the section you can see, they didn’t clean the section you can’t.
2. The coil inspection. A proper duct cleaning includes the evaporator coil, which sits near the air handler and is the single most important surface in the system. If you’re comfortable removing the access panel on your air handler (or better, having a professional do it), check whether the coil fins are clean and separated. A coil caked with dust and lint means the “whole system” clean never touched the coil. A dirty coil restricts airflow, reduces cooling capacity, and dumps moisture into the system that promotes mold growth.
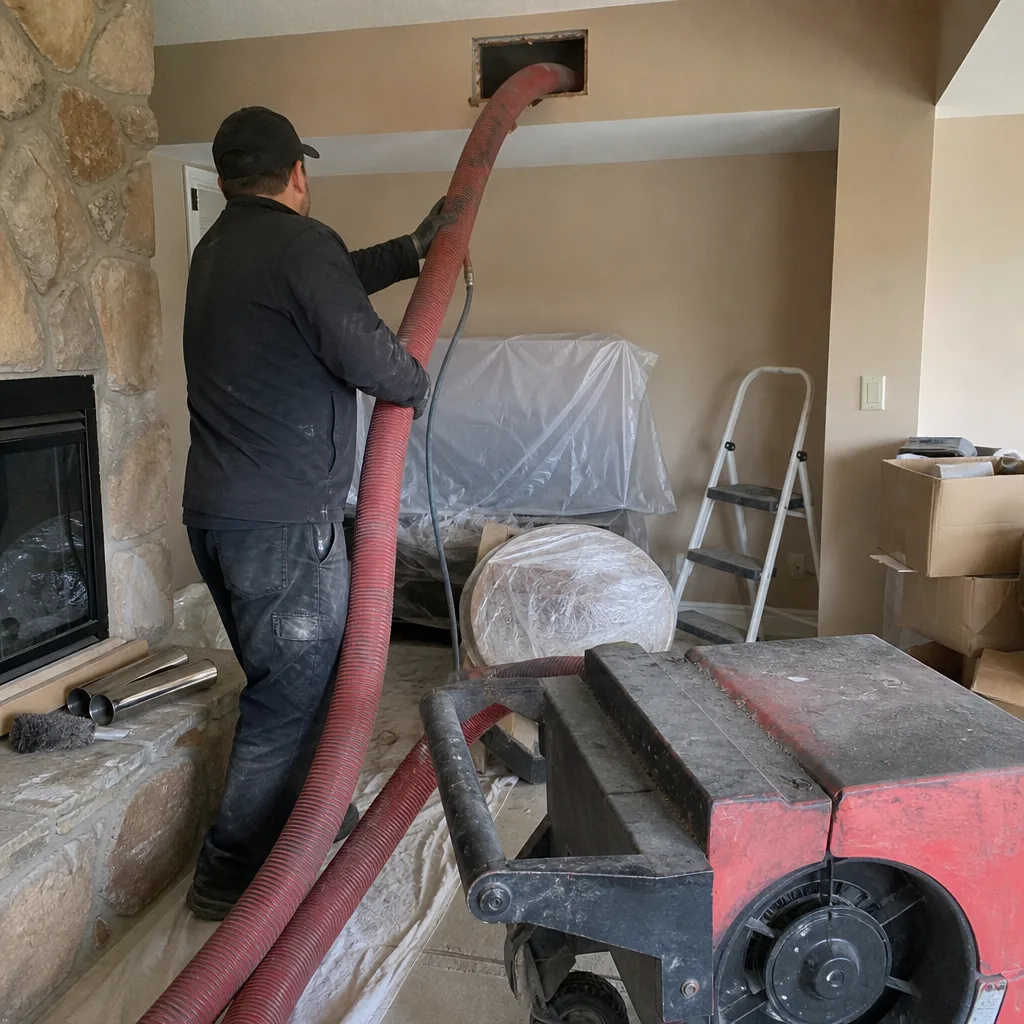
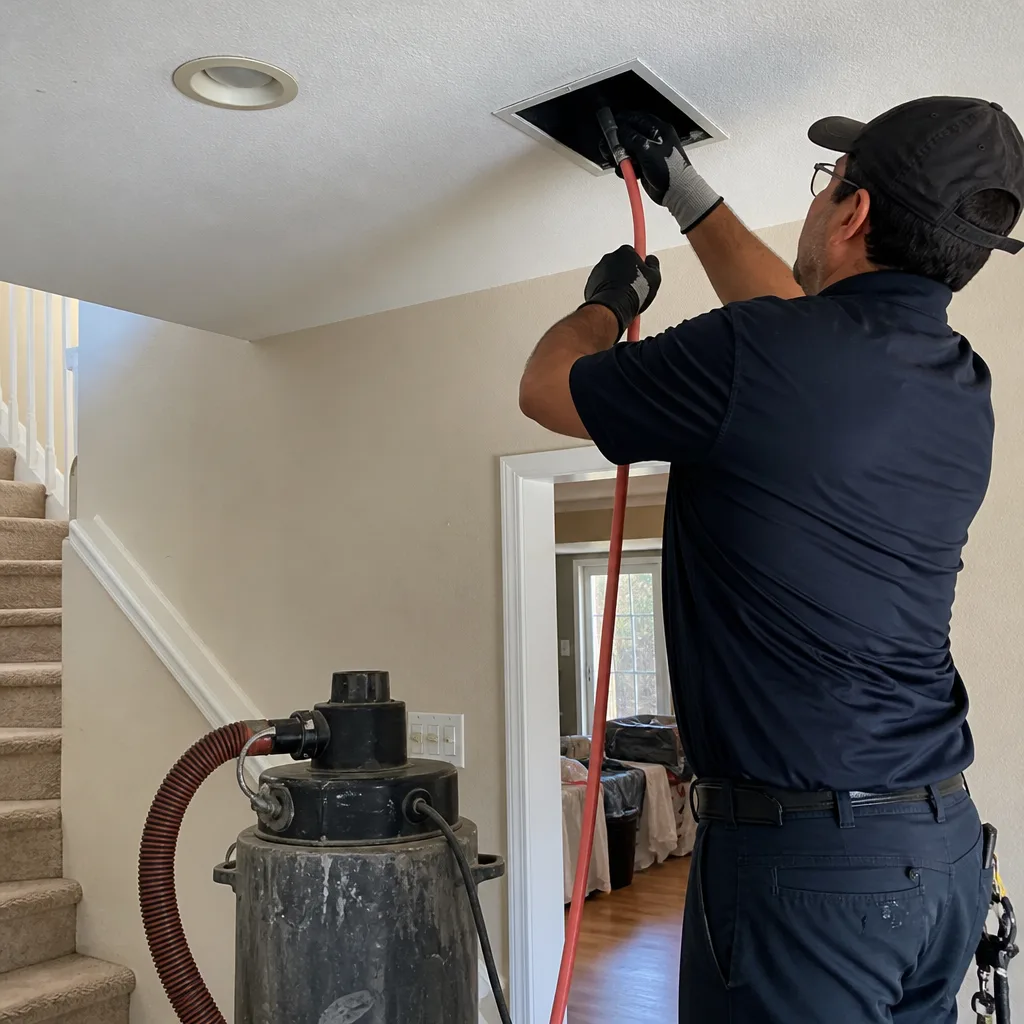
3. The negative pressure question. Ask the prior company what kind of containment they used. A professional cleaning uses negative air pressure: a powerful vacuum creates suction inside the duct system so that every dislodged particle is pulled toward the vacuum rather than into your living space. Shop-vac and brush approaches don’t create this containment. They knock debris loose and hope it ends up in the vacuum. A lot of it doesn’t. This is why proper equipment matters, and why we run Nikro HEPA-rated vacuums and Abatement Technologies containment units on every job. The HEPA filtration captures the fine particulates that ordinary vacuums exhaust back into the room.
4. The before-and-after record. A professional cleaning should include photographic documentation. Before photos show the problem. After photos prove the work. If the prior company can’t show you what your ducts looked like before and what they looked like after, you have no way to verify the work was done. We photo-document every cleaning we do in Camarillo for this reason.
The Symptom-to-Cause Troubleshooting Checklist
Here’s a working checklist we use when a Camarillo homeowner calls with a duct complaint. Match your symptom to the probable cause, then follow the next step. This is the same diagnostic framework we apply when we walk into a home for the first time.
- Symptom: Musty smell that gets stronger when the system runs. Probable cause: mold or moisture inside the ducts or plenum. Next step: inspect the visible duct runs and the air handler for moisture staining or visible growth. Schedule a professional inspection if confirmed. A cleaning alone won’t solve this; the moisture source has to be identified.
- Symptom: Musty smell that’s constant whether the system is on or off. Probable cause: condensate pan stagnation, dead rodent in a wall void, or degrading insulation. Next step: check the condensate pan under the air handler first. If clean and dry, consider a cavity inspection.
- Symptom: Dust on furniture within days of cleaning. Probable cause: superficial cleaning, unfiltered return-side leakage, or both. Next step: perform the flashlight check on supply registers. If visible dust remains, the cleaning was incomplete. If clean but dust persists, look for return-side leaks.
- Symptom: One room suddenly gets more air, another gets less. Probable cause: return-side duct breach causing pressure imbalance. Next step: locate the return duct run through attic or crawlspace and inspect for gaps, disconnected joints, or crushing. This is a repair issue, not a cleaning issue.
- Symptom: Dirty odor that smells like burning dust when heat first kicks on. Probable cause: dust accumulation on the heat exchanger or electric coils inside the air handler. Next step: do not run the heat until inspected. Built-up dust on a heating element is a fire hazard and a smell you should take seriously.
- Symptom: High humidity inside the home during cooling season. Probable cause: oversized air conditioner, duct leakage pulling humid attic air, or a clogged condensate drain. Next step: check that the condensate drain is flowing first. If it is, suspect duct leakage in humid attic spaces.
- Symptom: Rooms at the end of long duct runs never get enough air. Probable cause: duct design limitation or collapsed/flexed duct sections. Next step: inspect the accessible duct runs for kinks in flexible duct or crushed sections. Sometimes the fix is simple duct repair, not a redesign.
Why Equipment Matters: Contact Cleaning vs. Air Agitation
Homeowners in Camarillo ask us what actually makes a professional Air Duct Cleaning different from a budget service. The answer is concrete: the equipment. More specifically, it’s the difference between contact cleaning and air agitation.
Air agitation is the method used by most low-cost duct cleaning services. A whip or brush attached to a flexible shaft spins inside the duct, knocking debris off the walls. Compressed air may also be blown through the system. The debris becomes airborne inside the duct. Some of it gets captured by the vacuum at the register. A lot of it settles back onto the duct walls after the job is done. The system looks clean for a few days, then the dust reappears because it was never removed. It was relocated.
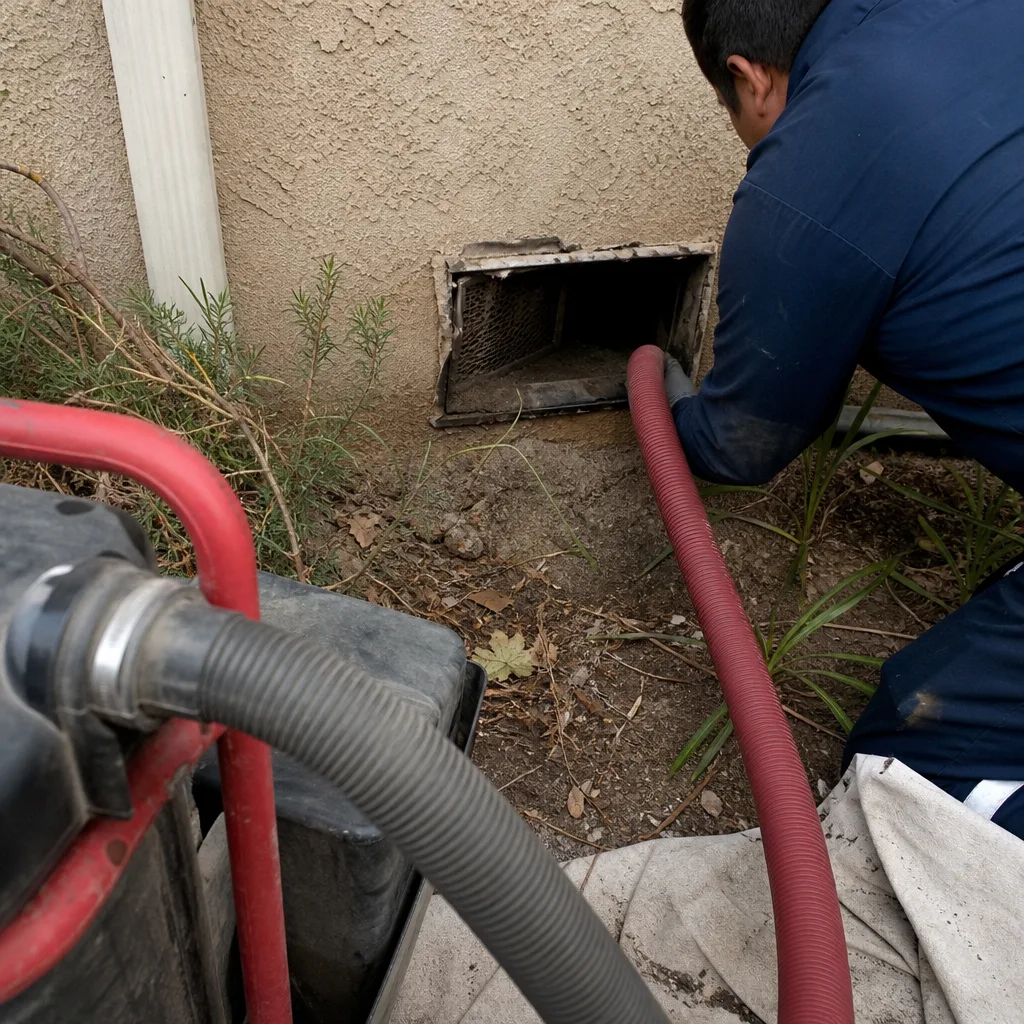
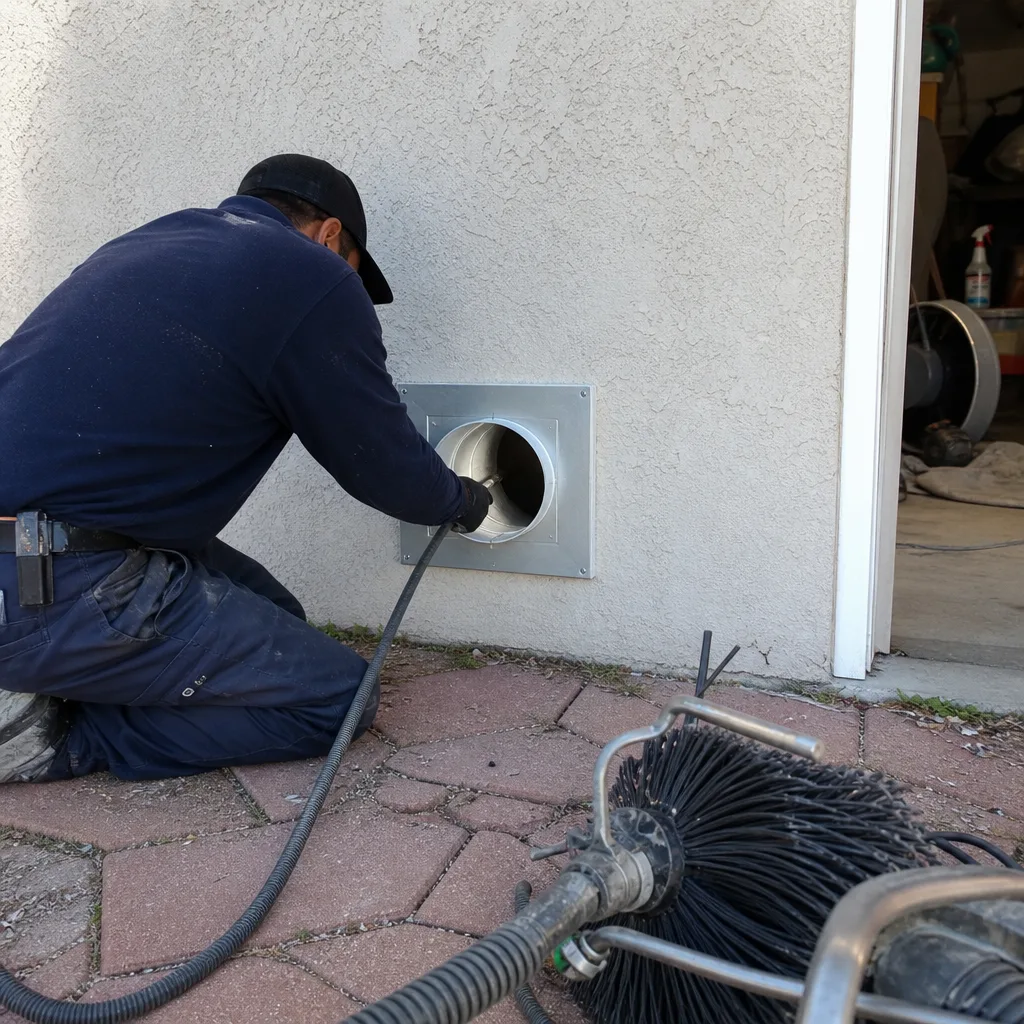
Contact cleaning is different. The Rotobrush system we use sends a rotating brush head through the duct while a high-powered vacuum operates at the same time, in the same location. The brush physically contacts the duct walls and dislodges the accumulated material. The vacuum extracts it immediately, at the point of contact, before it can settle back or migrate through the system. The debris leaves the ducts entirely, captured in the vacuum’s filtration. This is the difference between wiping a surface with a cloth and just fanning it with a piece of paper.
The second piece of equipment that matters is the filtration on the vacuum. A shop vac with a standard filter does not capture fine particulates. It exhausts them back into the room, which means the airborne dust you’re trying to remove ends up on your furniture. Our Nikro HEPA filtration captures particles down to 0.3 microns, which includes mold spores, fine dust, and other respiratory irritants. When we set up containment on a job, we’re using Abatement Technologies equipment, the same type of negative-air machines used in professional mold remediation. That’s not overkill. It’s the difference between removing contaminants from a home and merely moving them around inside it.
For Camarillo homeowners comparing quotes, the equipment question is a good filter. Ask what system the company uses for the cleaning, what filtration the vacuum has, and whether they set up negative pressure containment. Vague answers indicate vague methods. Specific answers indicate a company that invested in the tools to do the job properly.
Common Mistakes to Avoid
- Trusting a low price without asking about method. A $79 whole-house duct cleaning in Camarillo almost always means air agitation with a portable vacuum. The work is surface-level and the debris stays in the system. Ask what equipment they use and whether they do contact cleaning.
- Replacing the air filter and ignoring the coil. A clean filter doesn’t help if the evaporator coil is caked with years of accumulated dust. The coil is upstream of the filter in most systems, which means the air you breathe passes through it before it reaches the filter. A dirty coil contaminates the air regardless of filter condition.
- Assuming a cleaning fixes a leak. Cleaning removes debris. It doesn’t seal gaps. If your system was dirty because return-side ductwork is pulling attic air, the cleaning will be undone within months. Leak sealing is a repair task, not a cleaning task.
- Ignoring dryer vents during duct cleaning. The dryer vent is a separate system from your HVAC ducts, and it accumulates lint at a much faster rate. A home with clean HVAC ducts and a clogged dryer vent still has a serious fire hazard. Ask about Dryer Vent Cleaning in Camarillo as part of any whole-home service.
- Failing to document the before and after. Without photos, you have no way to verify the work was done. A professional company provides photographic evidence. If they can’t or won’t, that’s a signal.
- Assuming smell means dirty ducts. As covered above, odor sources are often outside the duct system entirely. A proper diagnosis checks all four odor sources before spending money on a cleaning that might not address the problem.
- Waiting until symptoms are severe. Duct problems compound. A small leak becomes a big leak. A dirty coil becomes a mold colony. A clogged condensate pan becomes a water damage claim. Early inspection is always cheaper than late repair.
When to Call a Professional
Some duct problems you can diagnose yourself. Some you can even fix, like cleaning a supply register or replacing a filter. But there are specific situations where professional help is the only sensible option. Call if you see visible mold growth inside a duct run or on a coil. Call if you smell burning dust when the heat runs. Call if you suspect a dead rodent in a wall cavity because the odor persists and the source is almost never accessible without cutting into drywall. Call if you have ductwork in the attic or crawlspace that you can’t safely access yourself. And call if you’ve had a cleaning done and the problem returned within a month, because that means something structural is wrong and another cleaning won’t fix it. Duct Cleaning Camarillo home offers free estimates in Camarillo. Call (833) 593-6403 to schedule an inspection.
Frequently Asked Questions
Expect to pay $400 to $900 for a professional whole-system cleaning in Camarillo, depending on the size of the home, the number of returns, and whether the system includes attic or crawlspace runs that require additional access. This range reflects contact cleaning with HEPA filtration and containment, not the $99 air-agitation specials. A reputable company gives you one flat price per system before work starts, not a per-vent quote that changes when the crew arrives. Call (833) 593-6403 for an exact quote. Estimates are free.
Cheaper quotes mean cheaper equipment and shorter service time. Air-agitation cleaning with a portable vacuum can be done in under two hours with one worker. Contact cleaning with HEPA filtration and negative pressure containment takes longer, requires more expensive equipment, and removes dramatically more material. The difference shows up in how long the results last. If a $99 cleaning solves a problem for 60 days and a $600 cleaning solves it for five years, the cheaper option was more expensive per month of clean air.
Request before-and-after photos of your ducts, the coil, and the return plenum. A professional cleaning includes photographic documentation. You can also perform the flashlight check on supply registers after the crew leaves. If you see dust coating the visible duct walls within the first 18 inches of the register, the cleaning didn’t reach that section. And ask whether the coil was cleaned. If they didn’t clean the coil, the job was incomplete.
Every 3 to 5 years is a reasonable interval for most Camarillo homes, though the number is influenced by factors that vary by household. Homes with pets, occupants with allergies or asthma, recent remodeling, or systems that run heavily during Camarillo’s long cooling season may need cleaning every 2 to 3 years. Homes in newer developments with tightly sealed ductwork may go longer. The honest answer is that cleaning frequency should be driven by inspection, not by a calendar. If your registers show visible dust accumulation after a year, the system is telling you something.
Yes, because your duct system is just a recirculation loop. Whatever sits on the duct walls, the coil, and the blower wheel gets entrained in the air stream and distributed through the house on every cycle. For allergy sufferers, this means constant exposure to dust mites, pollen, pet dander, and mold spores that a filter alone can’t catch, especially if the filter is not HEPA-grade. A proper cleaning removes the reservoir of allergens from the system. For ongoing filtration after cleaning, we work with whole-home systems from Honeywell and Aprilaire that are designed to capture the fine particulates that pass through standard filters.
Yes. When we find disconnected joints, crushed sections, or leaks during a cleaning, we can repair them on the spot. This is one of the main differences between our service and a cleaning-only company. A cleaning-only contractor either ignores structural problems or refers you to someone else, which means another appointment and another charge. Air Duct Cleaning in Camarillo that includes the ability to repair what we find is a single-visit solution.
The Bottom Line
Most recurring duct problems in Camarillo homes are not cleaning failures. They’re diagnostic failures. The company that cleaned your ducts may have done exactly what they were paid to do, but if they didn’t identify a return-side leak, a clogged condensate pan, or a dead rodent in a wall cavity, the symptom returns and the cleaning gets blamed. The fix starts with accurate diagnosis: figure out which category your problem belongs to, match it to the checklist, and then choose a service approach that actually addresses what’s wrong. For additional help, see our more guides & resources. Contact cleaning with proper containment removes the debris that air agitation leaves behind. Leak sealing stops the recontamination cycle. And repair capability means the problem gets solved in one visit, not two or three. If your ducts were cleaned and the problem came back, the ducts might not be the problem. But they’re usually the place to start looking.
Written by the team at Duct Cleaning Camarillo, serving Camarillo since 2013.
See the difference
 Before
 After
 Before
 After
 Before
 After